
I often get asked how to get the Facebook Verification for Business Pages. It is a rather quick and painless process that can give your online credibility a real boost.
Having that little grey or blue tick next to your page name indicates that your page is the official representation of your business. Whilst this process isn’t necessary for every person or business, there are a number of reasons to consider do it, including:
- As an individual, having your page verified adds legitimacy to your name and your reputation as a public figure.
- If your business name is similar to others, getting it verified ensures your customers know which page belongs to you.
- If an unofficial page exists for your company e.g. a fan page or, a deliberate attempt to impersonate your business – verification adds much needed credibility to your page.
It is a simple process, that I encourage all business and page owners to do. In this post, I share my tips for achieving your Facebook verification.
What kind of Facebook Verification do I need?
There are two different types of badges available to pages: a grey tick and a blue one.
The blue tick next to a page name indicates the authenticity of a global brand, media company or public figure. Here are some examples:
![]()
Apple Music (Global Brand)
![]()
Karlie Kloss (Public Figure)
![]()
NBC (Media Outlet)
A grey tick on the other hand, confirms the authenticity of a local business or organisation. If you can provide documentation to show that you’re a legitimate local business, you should apply for the grey tick. Here are some examples of local businesses or organisations with the grey Facebook verification:
![]()
![]()
Some global brands may actually have both ticks. If they use parent/child pages (aka Location Pages), the parent page will display a blue tick, while the individual location pages will display the grey local business tick.
How to get verified as a local business – Grey Tick
According to Facebook, there are a number of elements that need to be in place before you have the option to become a verified as a local business. Your page needs to:
- Be classified as a local business, company or organisation
- Have a profile photo
- Have a cover photo
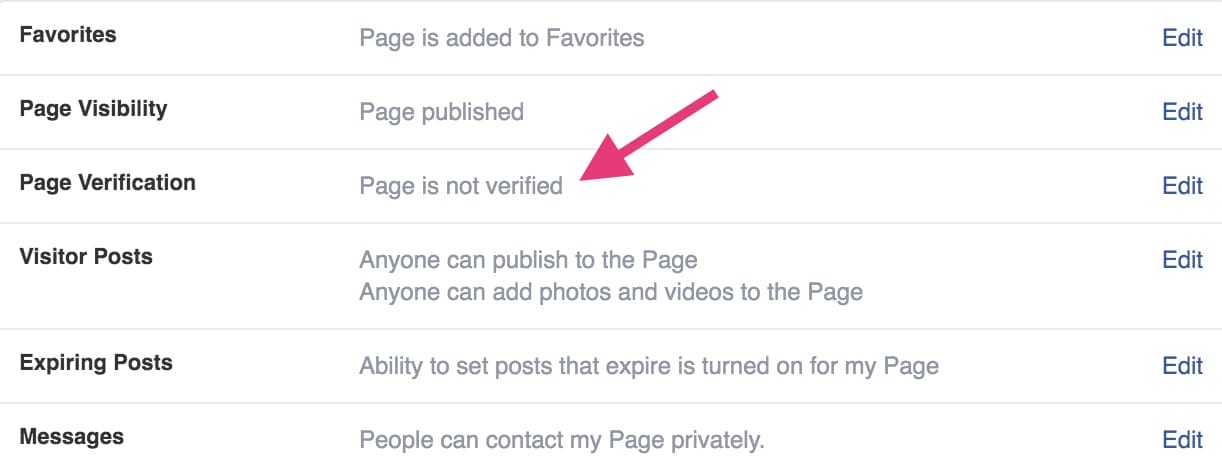
If these three things are in place, and you are personal admin of the page, you should see the option to verify the page under settings. Simply click on “Settings” at the top right of your page, then “General”, then “Page Verification”
Click on “Verify this page” or “Edit” (if you don’t see the, ‘Verify this page’ link). You will then be asked to provide a publicly-listed phone number for your business, your country and your language. If you don’t have a publicly listed number, or you simply prefer to verify your page using documentation, you can do this here.
Finally, click “Call me now” to have Facebook send you a 4-digit verification code. Enter this code and your done!
Facebook will usually notify you within a few days if your verification has been successful.
How to get verified as a public figure or global brand – Blue Tick
Whilst getting your Facebook verification as a local business is relatively straightforward, receiving that coveted blue badge is a little tricker.
Many people believe that Facebook awards these badges on their own accord. While it is true that they often automatically verify pages for well-known celebrities and brands, there is a way to manually apply for it as well.
Your first step will be to see if Facebook deems your page eligible for blue tick verification. Simply go to the Request a Verified Badge Form (make sure you’re logged in using your admin account) and see whether you have any eligible pages. If it shows you’re not eligible don’t worry – you have other options.
While you can’t manually submit a Facebook verification request for a business or brand, you can request verification as a public figure, brand or entertainer. Before you start this process, there are some elements that need to be in place first:
- Make sure your page category is set to “Public Figure” (if this is the route you want to take).
- Include any media reference in the awards section of your page (“As seen on Forbes & Huffington Post”). Direct links are even better.
- Your website URL
- Ensure you’ve filled out all page information in detail.
- Regularly share content from your website to your Facebook page.
- Purchasing some Facebook ads through your page is also advisable.
If some time has passed since you started this process, you can go back to the verification request form to see if your page has since been deemed eligible. If it hasn’t, you will need to use the Facebook Mentions app to apply – simply download the app, enter your name, and select “My Page or profile isn’t verified”.
You will then be taken to a form where you’ll need to do the following:
- Indicate whether you are trying to verify your profile or page
- Select your page name from the drop down menu
- Upload a photo of a government issued ID
- Enter your website URL
Click “Send” and you’re done!
While verification isn’t a necessity, it does give your page an added boost of credibility. Verifying a local business is quick and easy, and you can get your grey badge within just a few days. Getting that blue badge can be a lot tricker, but using the tips above should help you.